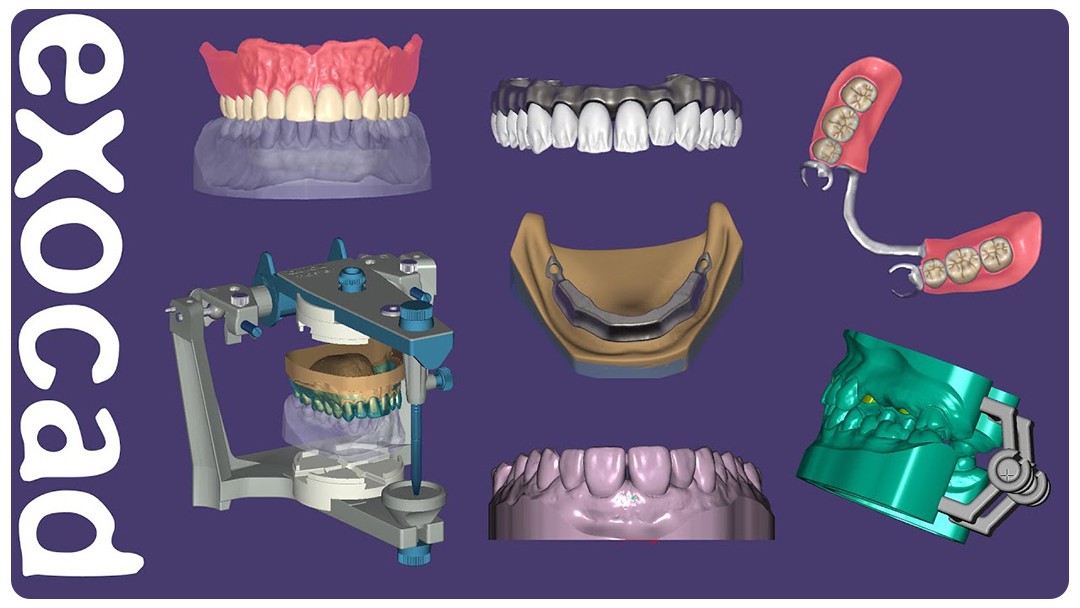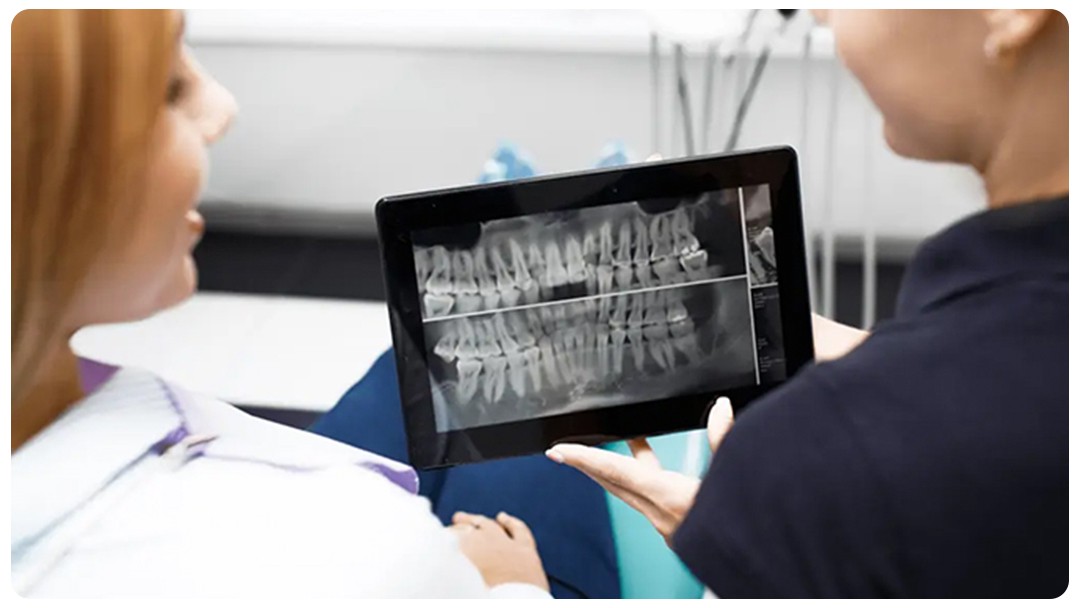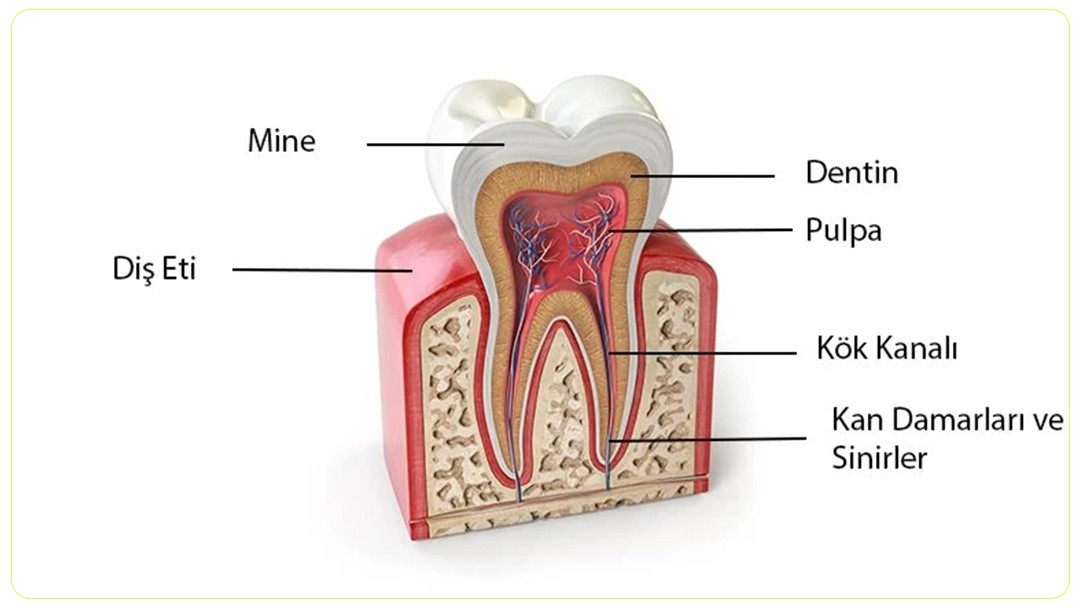
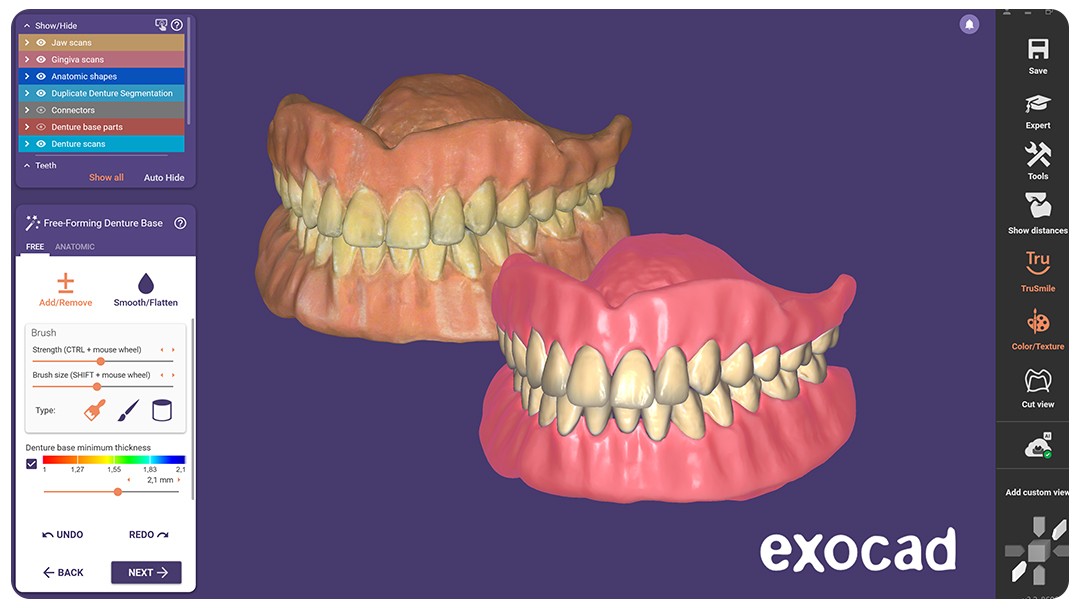
The Hidden Side of Exocad: 6 Ways to Maximize Its Power
Exocad is undoubtedly one of the most powerful design software tools out there.
Step-by-Step Guide to Downloading, Installing, and Using ChituBox
In the world of 3D printing, especially in the dental industry, precise and reliable slicing software is crucial. ChituBox stands out in this field with its user-friendly interface and extensive slicing features. In this guide, you will find all the steps on how to download, install, and use the ChituBox program.
Downloading ChituBox is a straightforward process. Here are the steps:
Go to ChituBox’s official website at chitubox.com.
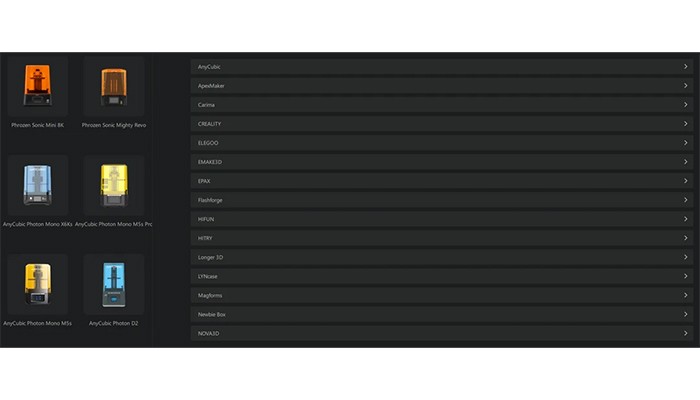
From the "Download" section on the website, choose the version compatible with your operating system:
Once you make your selection, the download process will begin automatically.
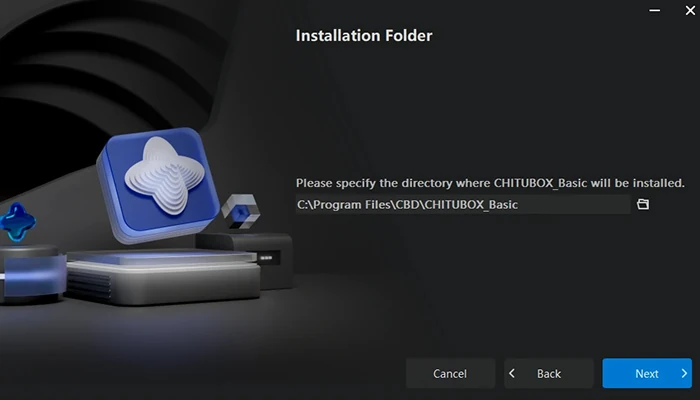
Once the download is complete, installing ChituBox is also quick and easy:
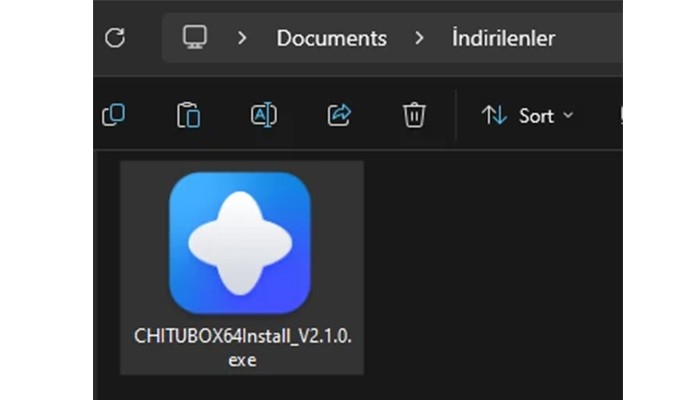
Double-click the downloaded file to launch the installer.
After the installation is complete, ChituBox can be launched automatically or opened by clicking the shortcut on your desktop.
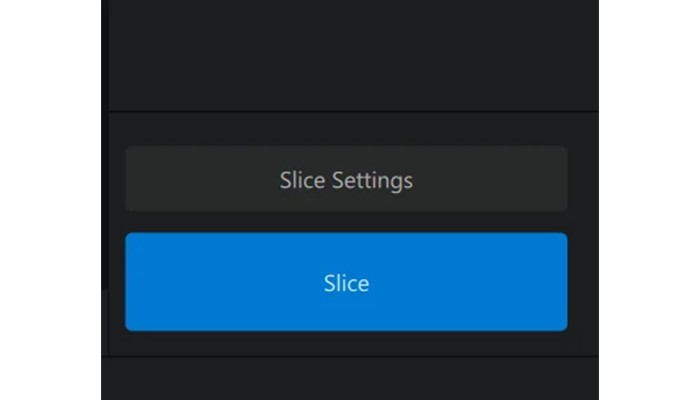
After installing ChituBox, follow these steps to slice your 3D models:
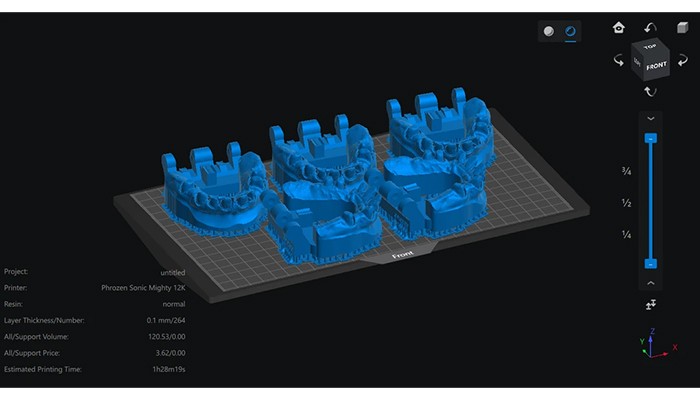
Open the program and click the "Open" button in the top menu, or drag and drop supported file formats like STL or OBJ into the workspace.

Before slicing, make sure to select the correct resin profile settings. Ensure that the parameters suitable for your device are loaded, as recommended by your resin provider.
ChituBox is a powerful slicing software with a user-friendly interface, making it an excellent choice for the dental industry. When used correctly, it enables high-precision and high-quality prints. We hope this guide helps you use ChituBox more effectively.
Don’t forget to share your experiences with ChituBox with us!