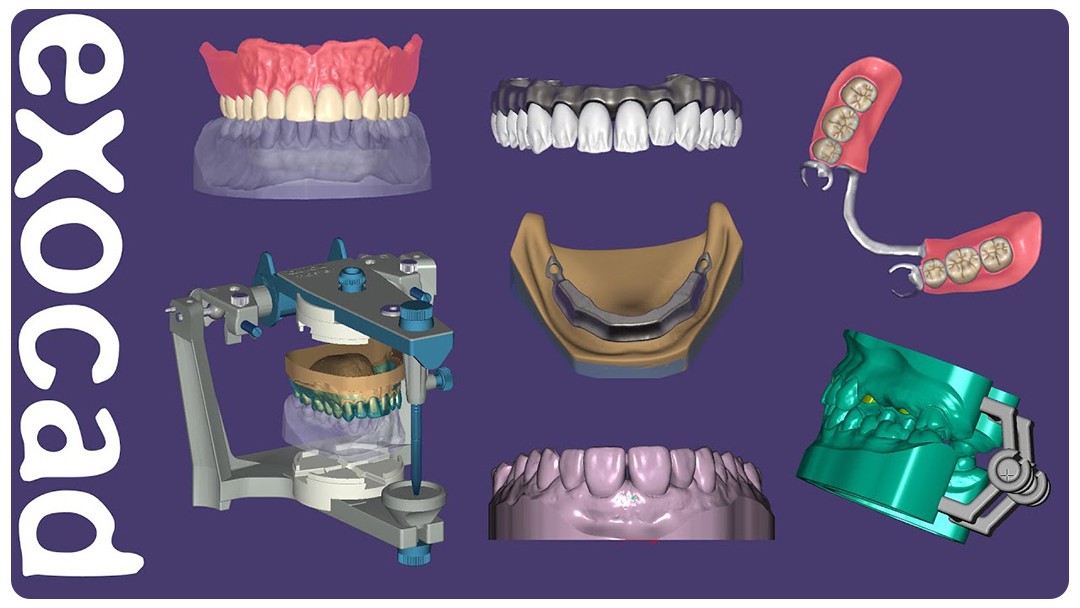

The Hidden Side of Exocad: 6 Ways to Maximize Its Power
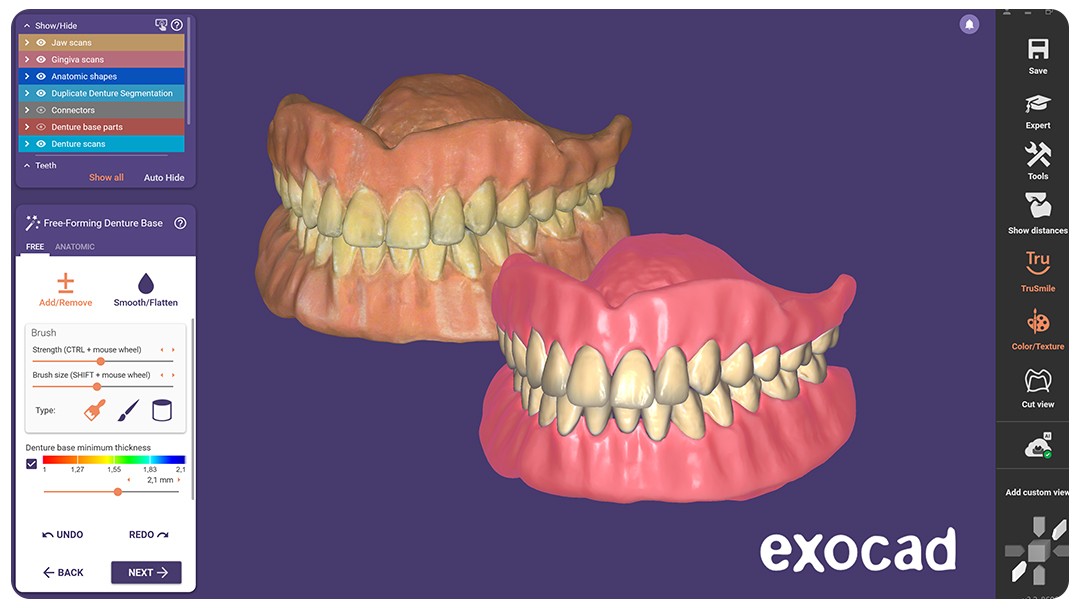
Exocad is undoubtedly one of the most powerful design software tools out there.
In the world of 3D printing, using the right software is crucial for achieving successful prints. Halot Box Slicer helps you achieve high-quality results in 3D resin printing. In this guide, we will explain step by step how to use the Halot Box Slicer program. The program operates under three main functions: Prepare, Support, and Export. Here are the details of each stage:
First, open the Halot Box Slicer program and go to the "Prepare" screen. Here, you can drag and drop your design onto the workspace in the center. This workspace represents the printing surface and helps you position your model correctly.

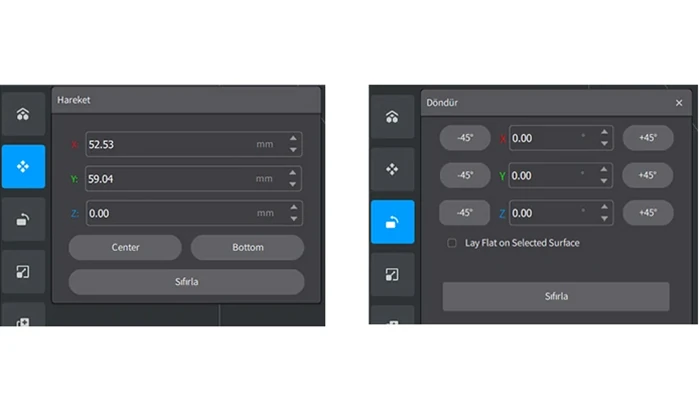
Use the icons on the left to move, rotate, and position your model.
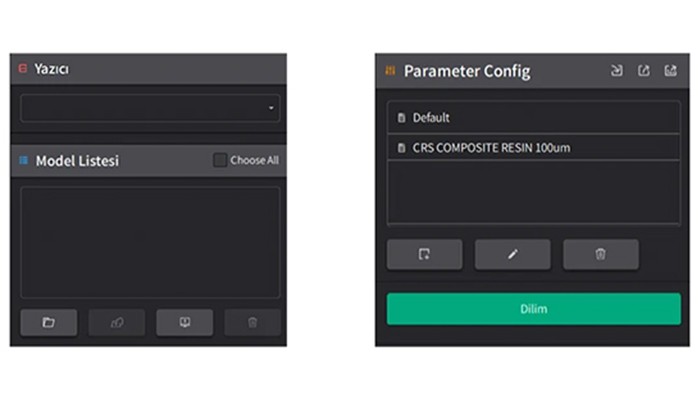
Select your 3D printer and set the resin parameters.
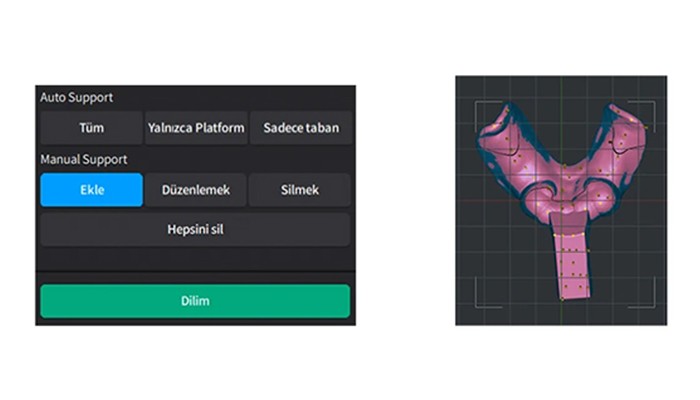
By switching to the "Support" screen, you can create support structures for your model. Supports prevent the model from collapsing during printing and ensure that it does not fall into the resin tank during curing.
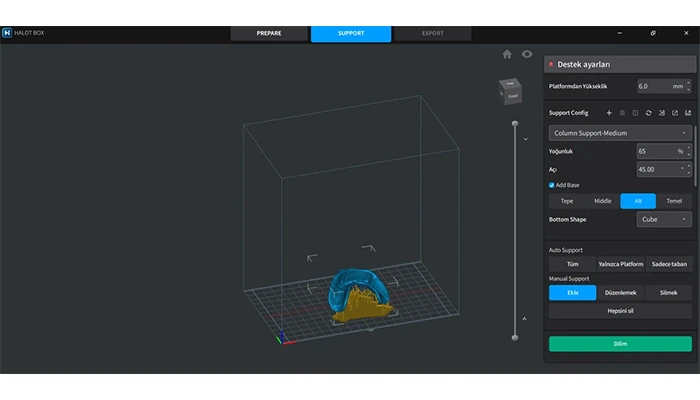
Click the "All" button under "Auto Support" to automatically add supports to the entire surface of the model. Then, click the "Add" button to apply the supports to your model.
Click the green "Slice" button at the bottom to slice your model.
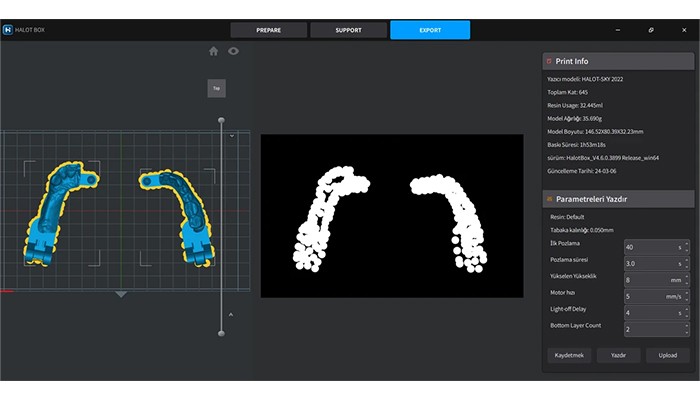
In the final stage, go to the "Export" screen to generate the output file of your design.
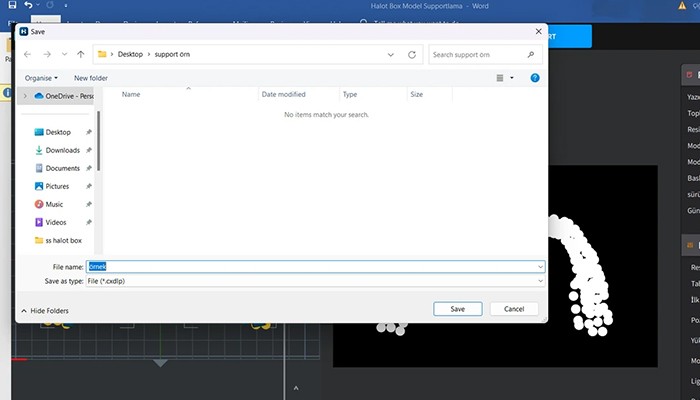
Click the "Save" button to store your print-ready file on your computer. This file is now ready to be uploaded to your 3D printer. Transfer the saved file to a USB drive and insert the USB into your 3D printer to start the printing process.
We hope this guide helps you use the Halot Box Slicer program more efficiently. Wishing you successful prints! 🚀