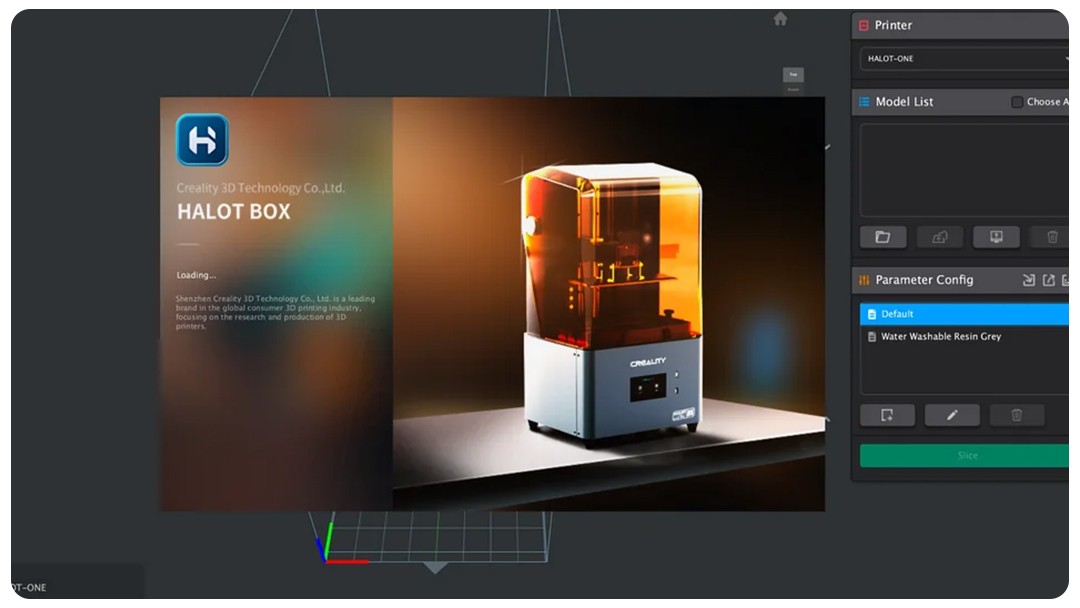
Supports are essential for securing our designs to the 3D printer's build plate. The printer first cures the supports and then begins producing the design. If we do not add supports correctly, our designs may fail to adhere to the build plate and fall into the resin tank, preventing the desired print from being achieved. Many factors must be considered to place supports correctly. This article will explain this topic using the Halot Box Slicer program.
Considerations in the Prepare Stage:
1. Contact with the Surface
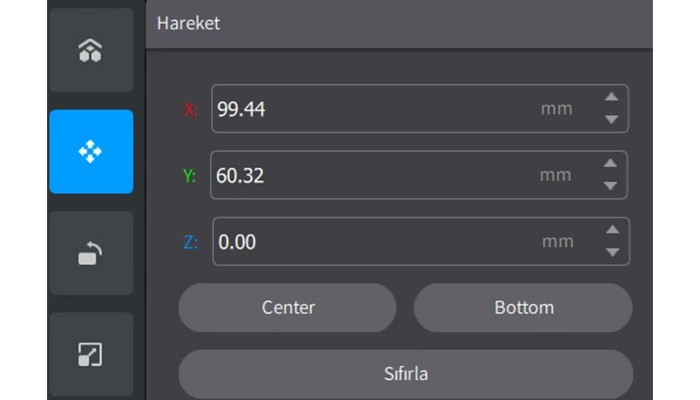
First, ensure that the design is placed at a zero-degree angle to the surface. In the "Prepare" stage of the Halot Box program, click the move icon to check the Z point. The Z point should always be set to 0 so that the supports are properly positioned on the surface.
2. Design Angle
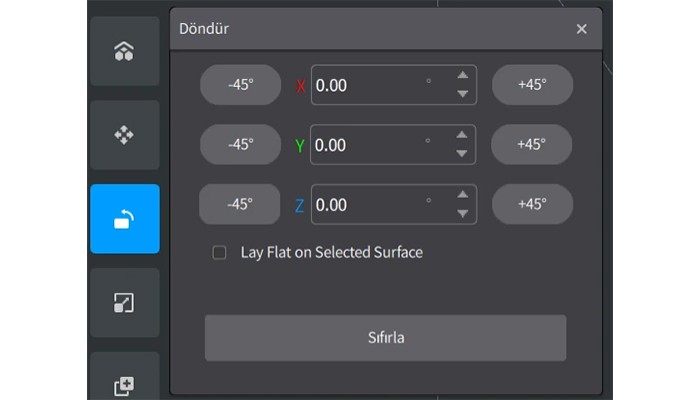
The most crucial point here is adding supports to the correct surface of the design. In digital dentistry applications, supports should not be added to the fitting surface, as they can leave marks after removal, causing adaptation issues during cementation or try-in stages. The correct surface is usually the side of the design that does not fit onto the tooth or gingiva. Temporary restorations should be produced from the occlusal direction, and supports should be added to the bases of models. You can use the rotate button to position the design at a 45-degree angle or use the mouse wheel to adjust it in 5-degree increments.
Considerations in the Support Stage:
1. Support Parameters
Support parameters are crucial. If incorrect parameters are used, models may not adhere to the build plate, supports may not detach from the design, and various issues may arise. As 3mash, we provide setup support for CRS resins to help you correctly configure these parameters. Different support parameters may be required for each resin. Therefore, always obtain information from the manufacturer and apply the appropriate parameters.
2. Weight-Bearing Points
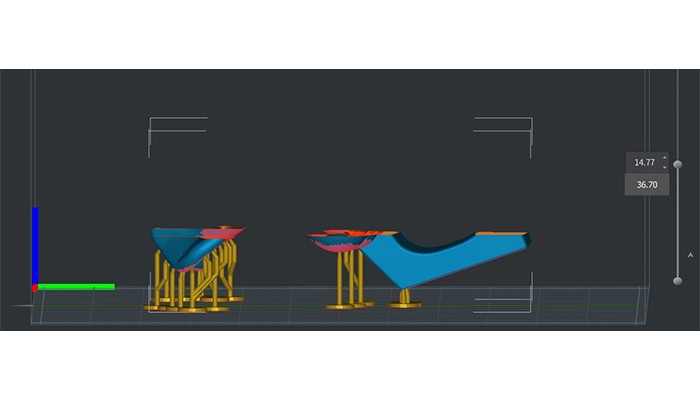
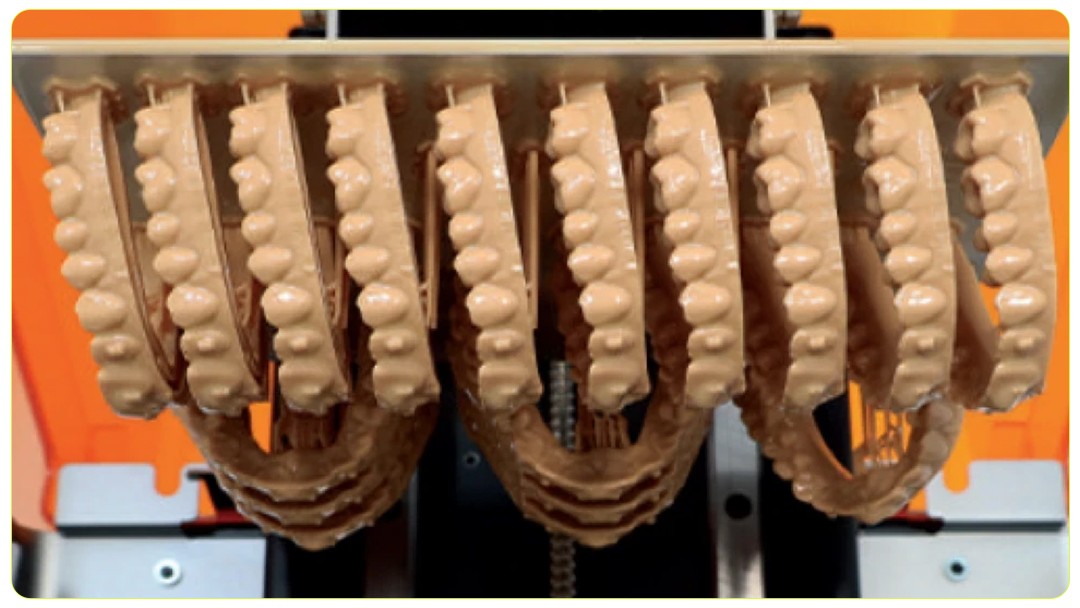
It is essential to place supports in areas that will be cured first and bear the weight. These points will support the remaining parts of the design and should have sufficient support.
For example, in the illustration provided, supports were added only to the initially cured areas. These supported regions will carry the load of the remaining parts.
3. Guide Lines
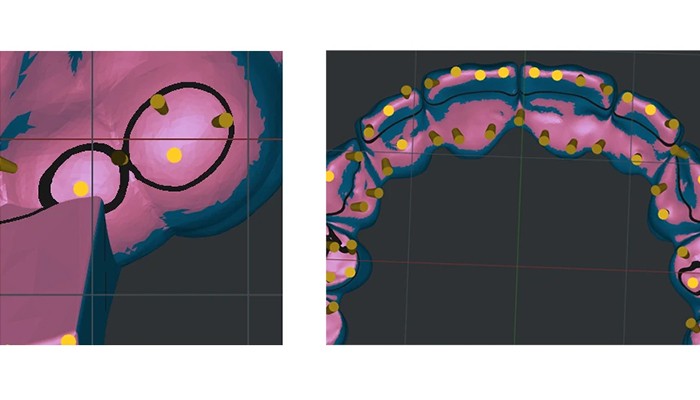
When navigating through the design, areas where guide lines are concentrated must have supports added. For temporary restorations, an average of 3-4 supports should be placed on the incisal edges.
4. Color Codes
In the Support section, the design consists of blue and red-colored areas.
Blue areas indicate parts that can be cured on top of the previous layer and do not require supports. These areas do not need additional support.
Red areas indicate sections where supports must be added.
It is always recommended to review the automatically added supports, as the program does not guarantee 100% accuracy. By following the points discussed above, you can ensure the correctness of your supports.